 Skip to content
 Most writers know about outlining before they write. Far fewer know about reverse outlining, a powerful technique for improving a post after it is drafted. A reverse outline is an outline you create from your finished draft, mapping what you actually wrote rather than what you planned. It reveals structural problems, gaps and redundancies that are invisible when you read the draft normally. This guide shows you how to use reverse outlining to make any blog post clearer, tighter and stronger.
Reverse outlining is one of the most underused editing techniques, and it is simple to learn. It complements forward outlining and the editing stage of the writing process, within the wider blog post writing resources.
What Reverse Outlining Is
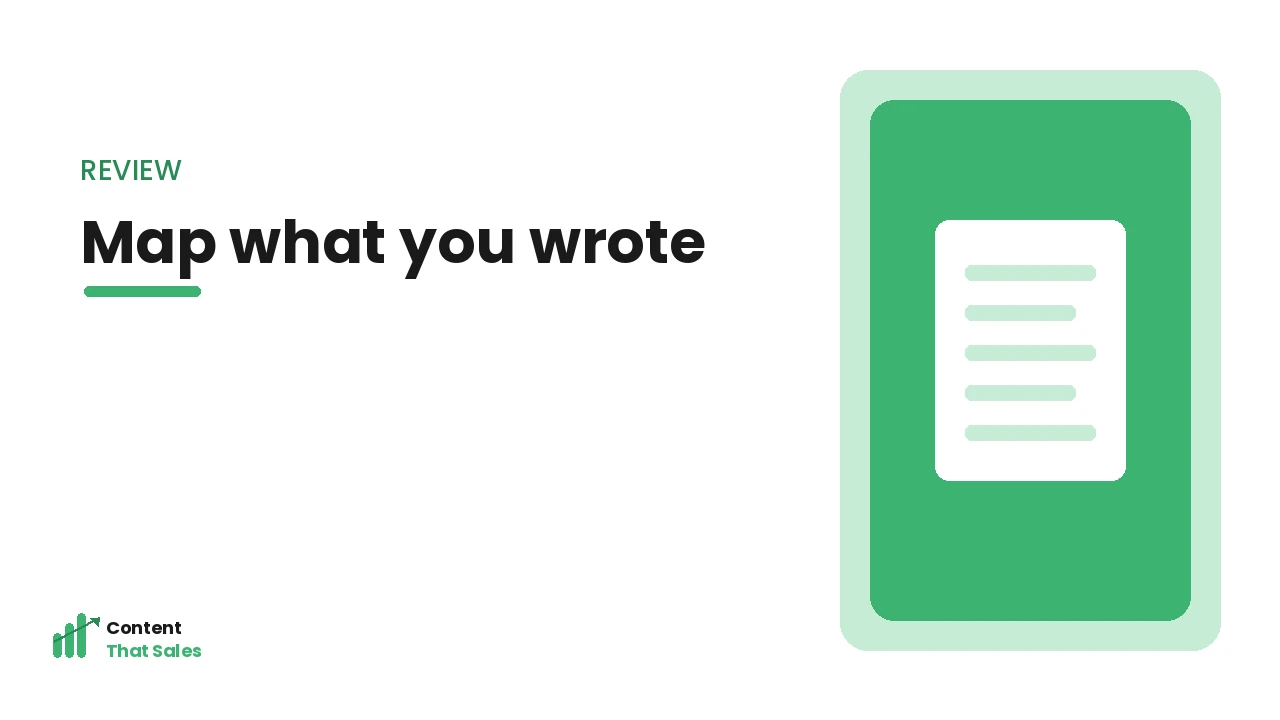
Reverse outlining means working backwards: instead of outlining before writing, you outline after, summarising each paragraph or section of your finished draft in a few words to reveal its actual structure. The result is a map of what your post really says, section by section, which you can then evaluate for logic, flow, gaps and repetition. It is editing by structure rather than by sentence.
This technique is powerful because it shows you the skeleton of what you wrote, not what you intended. Often a draft feels fine when read through but has structural problems, sections out of order, missing steps, repeated points, that only become visible when mapped. As Semrush notes, structural editing is what elevates a draft. Reverse outlining is the tool that makes a draft’s true structure visible so you can fix it.
How to Create a Reverse Outline
To reverse outline, go through your finished draft and summarise each section or paragraph in a short phrase capturing its main point. Write these summaries in order, and you have a reverse outline, a condensed map of your post’s structure. This usually takes only a few minutes but reveals a great deal about how your post is actually organised.
Keep your summaries honest: capture what each section actually says, not what you meant it to say. The goal is an accurate map of your draft as written. Once complete, you can read your reverse outline as a quick structural overview of the whole post. This simple act of summarising each part in sequence is the core of the technique, turning a hard-to-evaluate draft into a clear structural outline you can assess and improve.
Spot Structural Problems
With your reverse outline in hand, look for structural problems. Is the order logical, or do some sections belong elsewhere? Are there gaps, points that should be covered but are not? Is anything repeated across sections? Does each section make a single clear point, or are some muddled? The reverse outline makes these issues, hidden in the full draft, obvious at a glance.
Common problems it reveals include illogical ordering, missing sections, redundant content, and sections trying to do too much. Reading your reverse outline, you can see the post’s architecture and judge whether it serves the reader. The Nielsen Norman Group stresses that clear structure is vital for online readers, and reverse outlining is how you check yours. Spotting these structural problems is the payoff of the technique, showing you exactly what to fix.
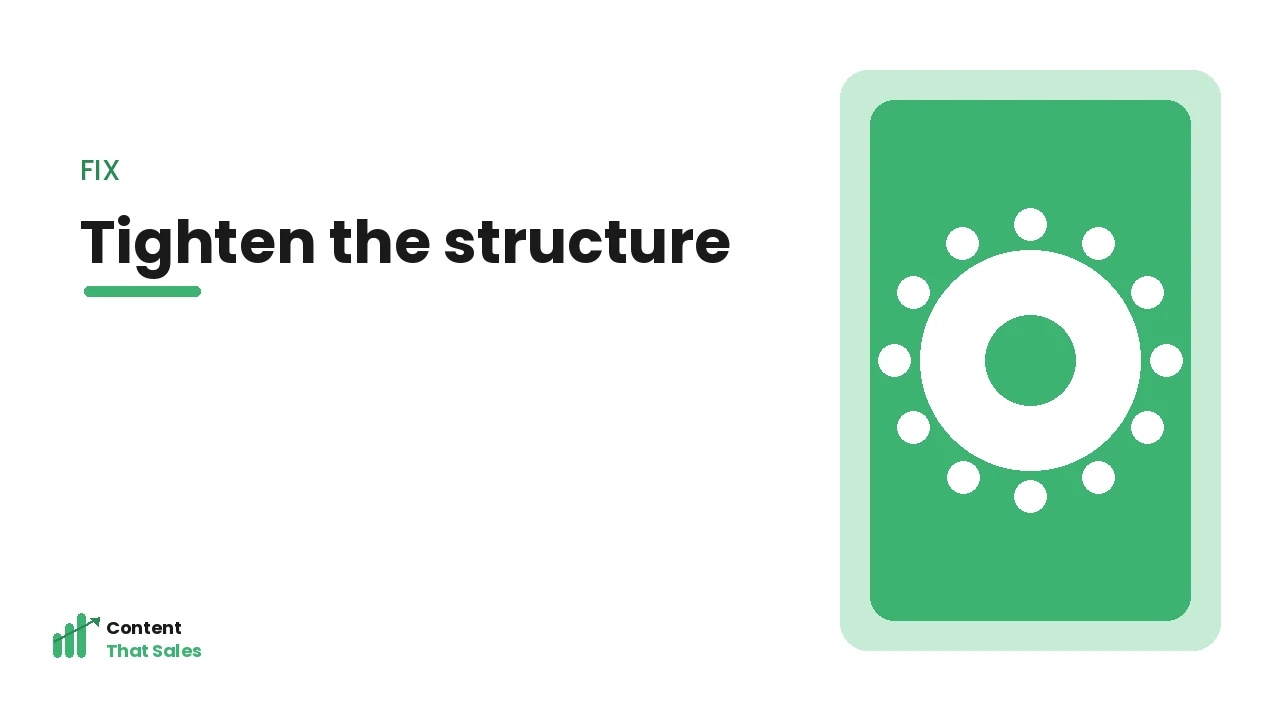
Fix the Structure
Once you have spotted the problems, fix them. Reorder sections into a logical sequence, add missing content the reverse outline revealed as gaps, cut or merge redundant sections, and split or sharpen sections that try to do too much. Working from your reverse outline, you can restructure efficiently, addressing the architecture of the post rather than fiddling with individual sentences.
This structural editing often improves a post far more than line edits, because it fixes the underlying organisation that shapes the whole reading experience. Use your reverse outline as a guide, adjusting until the structure is logical, complete and clear. Good heading structure supports this. Fixing the structure based on your reverse outline is where the technique delivers its value, transforming a decent draft into a well-organised, genuinely clear post.

Check Flow and Balance
Your reverse outline also helps you check flow and balance. Do the sections progress logically, each leading naturally to the next? Is the post balanced, or do some sections sprawl while others are thin? Reading your reverse outline, you can assess whether the post flows well and whether your attention is distributed sensibly across the topic, then adjust accordingly.
If one section dominates while an important one is skimped, rebalance. If transitions between sections feel abrupt, smooth them. The reverse outline gives you a bird’s-eye view that makes flow and balance issues visible, which is hard to judge when reading the full draft linearly. Checking and improving flow and balance with your reverse outline ensures your post reads smoothly and gives appropriate weight to each part, enhancing the reader’s experience throughout.
Use It as a Regular Habit
Reverse outlining is most powerful as a regular habit. Make it a standard step in your editing process: after drafting and before final polishing, reverse outline to catch structural issues. Over time, this habit not only improves each post but also trains you to write better-structured first drafts, as you internalise what good structure looks like. It is a skill that compounds.
It takes only a few minutes but consistently catches problems that line editing misses. Adding reverse outlining to your routine is one of the highest-value editing habits you can build, especially for longer or more complex posts. By using reverse outlining regularly, you ensure every post benefits from a structural check, steadily raising the clarity and quality of your blog. It is a simple habit with an outsized impact on your writing.
Reverse Outlining for SEO and Completeness
Beyond clarity, a reverse outline is a quick way to check whether your post is genuinely complete and well-optimised, which matters for search as well as readers. When you see your draft mapped as a list of section summaries, it becomes obvious whether you have actually covered the subtopics a searcher expects. If you compare that map against the questions people ask around your keyword and the points competing posts cover, the gaps jump out, important angles you skipped, questions you left unanswered, subtopics that deserve their own section. Filling those gaps is often what lifts a post from helpful to comprehensive, which is exactly what search engines reward.
The reverse outline also surfaces whether your structure is working for SEO mechanically. Reading your section summaries, you can check that your headings clearly describe their content, that your main keyword and related terms appear naturally in the right places, and that the post is organised in a way both readers and search engines can follow. If a section summary is vague or could apply to half a dozen topics, the heading probably needs sharpening. Used this way, reverse outlining doubles as a fast completeness-and-SEO audit, catching missing coverage and weak structure before you publish rather than discovering months later that your post never ranked because it left key questions unanswered.
A Simple Reverse Outline Checklist
To make the technique repeatable, it helps to run your reverse outline against a short checklist each time. First, does every section make one clear point that your one-line summary captures cleanly? If you cannot summarise a section in a phrase, it is probably doing too much and should be split. Second, is the order logical, with each section building on what came before and leading naturally to what follows? Third, are there gaps, expected subtopics or reader questions that your map shows you never addressed?
Continue down the list: is anything repeated across sections that should be merged or cut? Is the post balanced, without one section sprawling while another is thin? Does the introduction set up what the body actually delivers, and does the conclusion reflect where the post genuinely ends up? Running through these few questions against your reverse outline takes only minutes but consistently catches the structural weaknesses that drag posts down. Over time the checklist becomes second nature, and you start writing cleaner first drafts because you have internalised what a strong structure looks like. That is the quiet long-term benefit of reverse outlining: it not only fixes the post in front of you but steadily makes you a more structured writer.
How Content That Sales Can Help
Structural editing like reverse outlining is part of how we ensure every post is clear and well-organised. Our team writes and rigorously edits blog posts for structure as well as style, producing content that reads smoothly and serves readers well. Explore our blog post writing service to see how our thorough process delivers posts that are genuinely clear, complete and effective.
Frequently Asked Questions
What is reverse outlining? It is creating an outline from your finished draft, summarising each section in a few words to map what you actually wrote. This reveals structural problems, gaps and repetition that are invisible when reading the draft normally.
How do I reverse outline a blog post? Go through your draft and summarise each section or paragraph in a short phrase capturing its main point. Read these summaries in order as a map of your structure, then spot and fix problems like illogical order, gaps and redundancy.
Why is reverse outlining useful? It makes a draft’s true structure visible, so you can fix organisation problems that line editing misses. Structural editing often improves a post more than sentence-level edits, because it fixes the underlying architecture.
When should I reverse outline? After drafting and before final polishing, as a standard editing step. Used regularly, it catches structural issues in every post and trains you to write better-structured first drafts over time.